- No products in the cart.

Introduction to Motion with After Effects
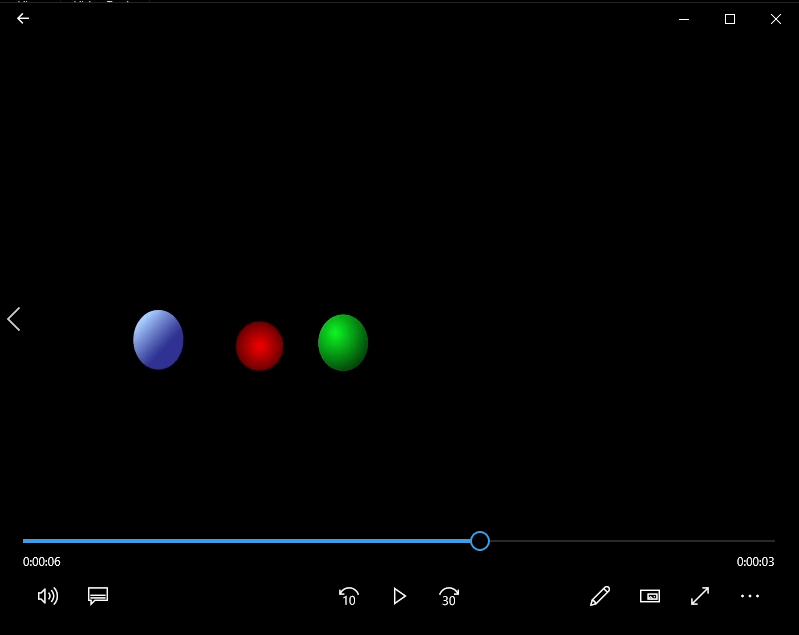
Our first assignment in Adobe After Effects. We were to create a basic bouncing ball animation using the principles of animation. Using completed illustrator files (the blue ball) I had to import and animate the movement of the layers using After Effects. The second bouncing ball (red) was created using shapes and keyframes within After Effects.
- Open your illustrator file of the bouncing balls
- In the layers panel (all of your shapes are likely contained within a single layer currently). Select the layer containing your shapes.
- Go to the hamburger menu in the upper righthand corner of the layer panel and select “Release to Layers (Sequence)”
- Your shapes are now all layers but they are still contained within the top parent layer. Holding shift select all but the parent layer.
- Drag the layers straight down to the open area at the bottom of the layers panel.
- All layers should now be independent. You can now delete the original layer, as it should no longer contain any information.
- Save
- Open After Effects
- Click to import .ai file into the project panel
- To import select the file in the “Import As:” box change to “Composition”. Check “Create Composition” and click “Open”
- In the Project panel double click to open the newly created composition.
- Trim each layer to single consecutive frames, it should look like stairs. (To do this use the shortcuts fn+uparrow and fn+downarrow to move frame by frame, option+[ to trim the selected layer to begin on your current frame, and option+] to trim the layer to end on your current frame.
- go to the last frame and hit n to set the work areas out point to that frame.
- Right click in the work area and select trim composition to work area. Your video should now fill the timeline.
- Create a new composition at 1920×1080 24fps, and name it Ball_2.
- Drag your original bouncing balls composition from the project panel into your new composition.
Pt2.
Next to the original ball;
1. Create a new ball using the shape tool
2. Fill with a gradient
3. Under the “Transform: Ellipse” properties, keyframe the balls position and scale at the different important pose points (you’ll need to unlock the link between the height and width of the scale).
4. Go to the last frame of your animations and click n to trim the work area to your current frame
5. Right click in the work area and select trim composition to work area. Your video should now fill the timeline.
6. Create a new 10 second composition at 1920×1080 24fps, and name it bounce_loop.
7. Drag the Ball_2 composition from your project panel into your new composition
8. Right click on your precomposed layer and choose Time>Enable Time Remapping
9. Option click on the stopwatch in the Time Remapping property to enable expressions
10. Under the expression click the icon that looks like a circle with a play button in it, choose Property>loopOutDuration(type = “cycle”, duration = 0)
11. Drag your precomposed layer out until it fills your entire 10 second timeline. Your video should now loop for 10 seconds.
12. Export as mp4 using media encoder.
Programs used:
Adobe Illustrator
Adobe After Effects
